


Family Matters: New York Cheesecake
Making a New York Cheesecake from a family recipe.
February 26, 2018
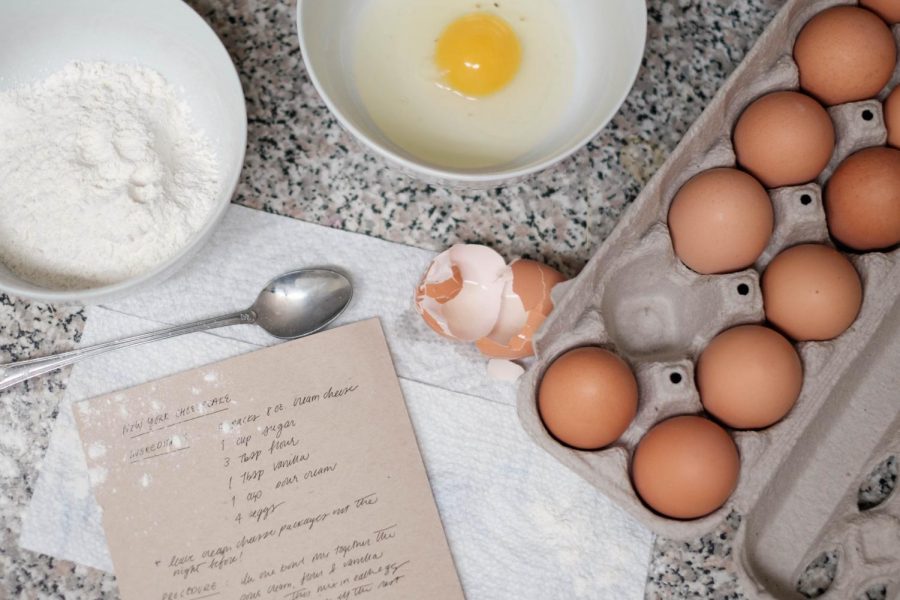
As we approach the middle of the semester, a little sweetness is vital to break up those late night study sessions. This delicious recipe is very near and dear to my heart because it was passed down by my grandma. Her classic cheesecake is something I’ve always eyed during dinner and inhaled during dessert. But honestly, what’s better than a New York cheesecake while you’re in the heart of New York City? It is almost like it was meant to be. You can thank me later. Given the fact that she is your traditional Italian grandmother, her ability to make a flavorful cheesecake in addition to conventional dishes leads me to believe her talents should land her on the next episode of “Top Chef” or “Chopped.” This light and creamy dessert certainly deserves unlimited recognition. Luckily for you, all you need for this cheesecake is:
• Five packs of eight-ounce cream cheese
• One cup of sugar
• Three tablespoons of flour
• One tablespoon of vanilla
• One cup of sour cream
• Four eggs
A professional tip from grandma: leave the cream cheese packages out the night before for easier mixing — don’t worry; it won’t go bad.
The procedure for this tasty dessert is quite simple:
In one bowl, mix together your cream cheese, sour cream, flour and vanilla until the mixture is smooth. Following this, mix in each egg one at a time until it is cohesive with the rest of the mix. It is extremely important to do each egg one at a time to ensure that all four are evenly mixed in.
Once your mixture looks creamy and smooth, bake your cheesecake for 50 minutes to one hour and 15 minutes depending on your oven. In order to see which time frame you should follow, after 50 minutes, use the toothpick test to check your cheesecake. The toothpick test is simply dipping it into the dessert. If it comes out clean, then there is no need to bake for longer. Another tip from grandma: once your cheesecake is done, leave it to cool for four hours before you move it to the refrigerator; this will prevent your cheesecake from forming cracks or caving inward.
Cheesecake may not be everyone’s cup of tea, but I can assure you this homemade version is worth a shot to change your mind. Although my family serves the cheesecake with simple accessories — at most a squirt of whipped cream — feel free to add a new twist by incorporating different fruits or toppings that complement the treat.
A version of this article appeared in the Monday, Feb. 26 print edition. Email Joanna Pisacone at [email protected].
